 Pin it
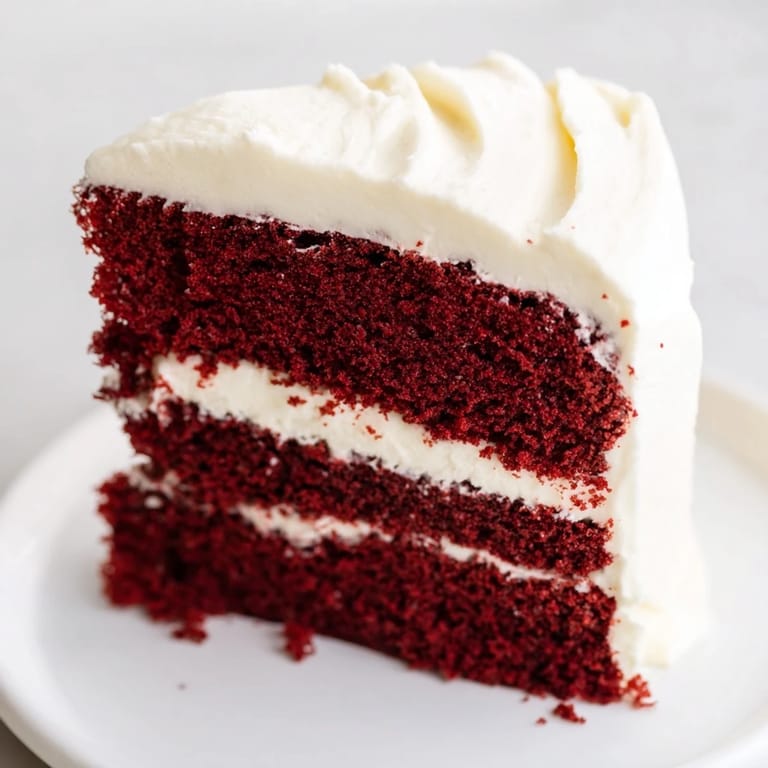
 My aunt pulled this red velvet cake out of her oven one Christmas Eve, and the kitchen filled with this mysterious cocoa-vanilla aroma that felt almost ceremonial. I was maybe eight, watching her frost it with that pristine cream cheese frosting, her hands moving with such practiced confidence. Years later, I finally asked her why this cake felt different from any other cake I'd ever tasted, and she smiled like she'd been waiting for me to figure it out. That first bite made sense immediately—the subtle tang, the velvety crumb, the way it begged for that tangy frosting. Now I understand it's not just dessert; it's a little piece of Southern hospitality you can actually hold in your hands.
I made this for my partner's birthday dinner last spring, and I remember being nervous about nailing that red color—I'd seen some attempts that looked almost unnatural. But using gel food coloring changed everything; the color deepened into this sophisticated burgundy-red that looked genuinely elegant. When we cut into it after dinner, the layers were perfectly even and the frosting held its shape beautifully, and I felt this quiet pride knowing I'd finally mastered something I'd been intimidated by for years.
Ingredients
- All-purpose flour (2 ½ cups): Measure by spooning into the measuring cup and leveling off—scooping directly can pack it too tightly and throw off your ratios.
- Unsweetened cocoa powder (2 tablespoons): This gives you that subtle chocolate note without overpowering the other flavors; sift it with the flour to break up any lumps.
- Baking soda (1 teaspoon) and salt (½ teaspoon): These aren't just fillers—they help the cake rise properly and balance the tang from the vinegar and buttermilk.
- Granulated sugar (1 ½ cups) and softened butter (1 cup): Creaming these together is your foundation; it takes about 3-4 minutes and should look pale and fluffy, almost like frosting itself.
- Eggs (2 large, room temperature): Room temperature eggs blend more smoothly and create a more uniform batter; cold eggs can cause separation.
- Buttermilk (1 cup) and white vinegar (1 teaspoon): The tangy combination is what makes this cake its unique self—this is where the magic happens.
- Red food coloring (1 ounce): Gel coloring gives you that deeper, more sophisticated red; liquid coloring tends to look thinner and sometimes too bright.
- Vegetable oil (½ cup): This keeps the cake moist and tender in a way that butter alone can't quite achieve.
- Cream cheese (8 ounces) and butter (½ cup): Both must be softened to room temperature so the frosting whips up light and fluffy without any lumps.
- Powdered sugar (4 cups, sifted): Sifting removes the lumps and makes the frosting smoother and more luxurious-looking.
- Vanilla extract (1 teaspoon per component): Quality matters here since it's a starring ingredient; don't skip the real vanilla.
Tired of Takeout? 🥡
Get 10 meals you can make faster than delivery arrives. Seriously.
One email. No spam. Unsubscribe anytime.
Instructions
- Set your stage:
- Preheat the oven to 350°F and prepare your pans by greasing them thoroughly, then dusting with flour and tapping out the excess. This small step prevents sticking disasters and ensures your beautiful cake releases cleanly.
- Build your dry base:
- Sift the flour, cocoa powder, baking soda, and salt together into a bowl—sifting isn't just for show, it aerates the flour and prevents lumps that can toughen your cake.
- Cream your foundation:
- Beat the sugar and softened butter together until it's pale, fluffy, and almost cloud-like; this takes about 3-4 minutes and is where your cake's texture begins to develop. Add the eggs one at a time, letting each incorporate fully before adding the next.
- Blend in the wet flavors:
- Mix in the oil, vanilla extract, and vinegar until they're fully incorporated; this might look a little curdled at first, but that's completely normal.
- Create your liquid magic:
- Whisk the buttermilk with the red food coloring until the color is evenly distributed and there are no streaks.
- Layer and fold gently:
- Add your dry ingredients and buttermilk mixture in three alternating additions, starting and ending with the dry ingredients. This technique prevents overmixing, which would toughen the cake; mix just until you don't see streaks of flour anymore.
- Into the oven they go:
- Divide the batter evenly between your prepared pans and smooth the tops gently. Bake for 28-30 minutes until a toothpick inserted in the center comes out clean—start checking around 26 minutes so you don't overbake.
- Cool with patience:
- Let the cakes cool in their pans for 10 minutes, which allows them to set slightly, then turn them out onto wire racks to cool completely. This prevents the cake from being too fragile to handle.
- Whip the frosting:
- Beat the softened cream cheese and butter together until they're perfectly smooth with no lumps, then gradually add the sifted powdered sugar, vanilla, and salt. Continue beating until it's light, fluffy, and spreadable—this takes a few minutes.
- Assemble with care:
- Once your cakes are completely cool, place one layer on your serving plate and spread a generous layer of frosting on top, then place the second layer on top. Frost the top and sides with the remaining frosting, taking your time to smooth it out or create swoops, depending on your mood.
 Pin it
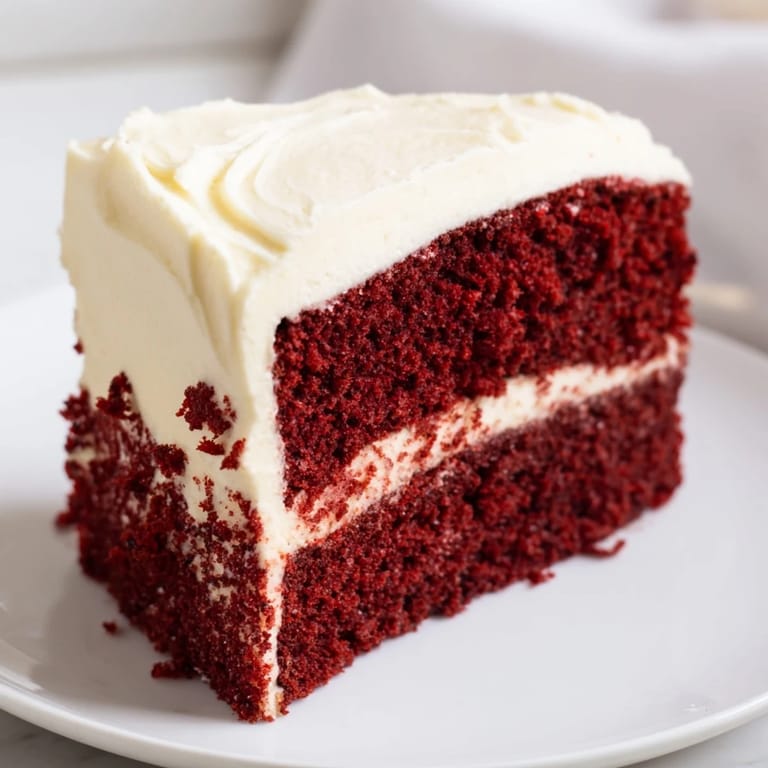
 I'll never forget watching my mom frost this cake the first time I was allowed to help—the way she spun the cake plate with one hand while the spatula moved almost like it was dancing. She told me that frosting isn't about perfection; it's about patience and letting your hands find their rhythm, and somehow that advice stuck with me long past baking.
The Science Behind the Red
Red velvet is actually a clever trick, a cake that uses just a whisper of cocoa powder combined with vinegar and buttermilk to create this subtle complexity that would be completely different with just cocoa alone. The acid from the vinegar and buttermilk reacts with the cocoa to create that particular flavor profile—slightly tangy, definitely sophisticated, and utterly addictive. Once you understand this chemistry, you realize that red velvet isn't pretentious; it's just smart baking.
Making It Your Own
This recipe is wonderfully forgiving and begs for small personalization touches that make it feel like yours rather than just something you pulled from a page. Some people add a hint of nutmeg or cardamom to deepen the flavor, others garnish with fresh berries or a dusting of cocoa powder. I've seen people add a pinch of espresso powder to amplify the cocoa notes, and it works beautifully without making the cake taste like coffee.
Storage and Serving Wisdom
This cake actually tastes better the next day once the flavors have settled and the frosting has set fully, so if you're making it ahead, that's genuinely a gift to yourself. Keep it covered in the refrigerator where it'll stay fresh and moist for up to five days, though between you and me, it rarely lasts that long in any house worth visiting.
- Slice with a hot, sharp knife wiped clean between cuts for pristine, frosting-smudge-free pieces.
- It pairs beautifully with sparkling wine, strong black coffee, or even a cold glass of milk if you're feeling nostalgic.
- If you're baking for someone, give them a heads-up about the milk and egg content for allergy purposes—it's the considerate thing to do.
 Pin it
 There's something quietly powerful about making a red velvet cake from scratch—it's not the most complicated dessert, but it requires attention and care, and that effort shows in every slice. When someone takes a bite and their eyes light up, you'll know exactly why you took the time.
Frequently Asked Questions
- → What gives red velvet cake its signature color?
The vibrant red hue comes from adding red food coloring combined with natural reactions between cocoa powder and vinegar present in the batter.
- → How do you achieve a moist and tender cake texture?
Using buttermilk and a balance of butter with sugar while avoiding overmixing the batter helps keep the cake soft and moist.
- → Can I substitute any ingredients for dietary preferences?
While this version contains dairy and eggs, alternative milk or egg substitutes might be used, though texture and flavor may vary.
- → What is the best way to frost the cake layers evenly?
Ensure cakes are completely cooled before spreading an even layer of cream cheese frosting between layers and on the top and sides using a spatula.
- → How should the cake be stored after preparation?
Store the cake covered in the refrigerator for up to five days to maintain freshness and texture.